
Running a real e-commerce store often requires more than the default product layout. Every business is different and it needs to speak to make the important information visible to its clients.
There is no better place to add a small disclaimer, than the area under the “Add to cart” button on your product pages.
You can also add an image with trusted payment logos, or whatever you find important to your customers.

Any shortcode will work! So get creative.
But how to do that quick, for all the products in the store, with the option to change it easily in the future?
[box title=”” border_width=”1″ border_color=”#A0A0A0″ border_style=”dashed” bg_color=”#F5F5F5″ icon=”info” icon_style=”border” icon_shape=”circle” align=”left”]
For This Example I Used
Note that you can use any free or paid plugin or theme. This is just what I used in this tutorial.
- WooCommerce Theme: XStore (highly recommend, you can even add Visual Composer elements)
- Massive Addons – Probably the best WPBakery Page Builder extension.
- Shortcoder – This plugin will let you change the content of the box lately, with anything you want.
- Olevmedia Shortcodes – It provides cool shortcodes, without the need of Page Builder.
Of course, you can use any theme or shortcode plugin you like.
[/box]

[box title=”” bg_color=”#EACEE0″ align=”left”]
Want to skip all the work?
There is an automated way to do something very similar to what you are about to see below. It’s called XL WooCommerce Sales Triggers!

[/box]
1. Using FREE Shortcodes
First in a draft post or page, create your note box, using the shortcode you like and styling it the way you like it. You can also use an image or just plain text.
For my example, I’m using the following shortcode, generated from Olevmedia Shortcodes plugin.
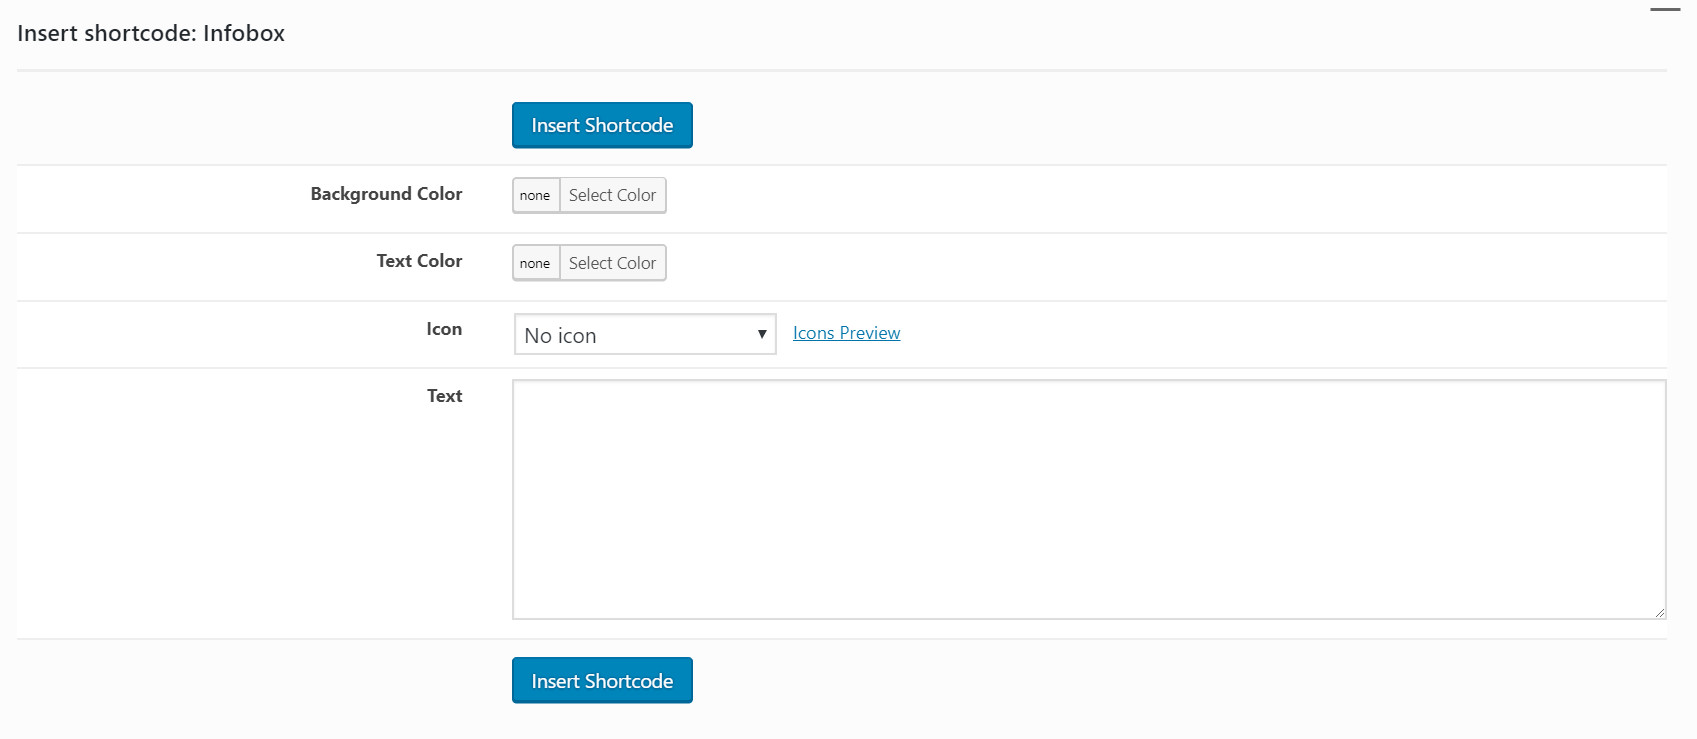
My final shortcode look like this:
[box title=”” bg_color=”#ededed” align=”left”]
[[infobox color=”#f4f4f4″ textcolor=”#636363″ icon=”info-circle”]This is very important information, please read before you order![/infobox]]
[/box]
Once you are happy with your note. You can go to the next step, which is adding the shortcode to your theme’s layout.
2. Creating Your Own Shortcode with Shortcoder
To make this functional as much as possible and easy to edit it in the future. Download the Shortcoder free plugin and install it.
Then just go to the plugin settings page (Settings > Shortcoder), create a new shortcode and paste your shortcode (the one we did above). Give your new shortcode a name and save it. Then grab the shortcode’s code and head to the next step.

(I know I said ‘shortcode’ too many times in this paragraph – shortcodeception)
Adding the Content to Your functions.php file
Find your child theme’s functions.php file and add the following code at the bottom.
add_action( 'woocommerce_after_add_to_cart_button', 'html_after_add_to_cart' );

function html_after_add_to_cart(){

?>

<?php echo do_shortcode(' [sc name="below_cart"] </body></html>

'); ?>

<?php

}
Change [sc name="below_cart"] with your Shortcoder shortcode.
You are ready to see what you have achieved!
It is possible to play with the CSS to position it nicely below the button, add some paddings etc.
3. Using WP Bakery Page Builder Static Block and Massive Add-ons
For this last example I used WPBakert Page Builder with the help of the additional premium Massive Add-ons.

If your theme supports static blocks, create a new one and place a row with “Alert” element.
If you’d like, you can add more elements like a countdown or any other Massive add-ons element of your choice.
Save your static block and copy the generated shortcode to the code we added in the functions.php file.
Enjoy and always back up your files in case this code is not supported by your theme!
Do you want to add more options to your products and increase your avarage cart total? Try using the free WooCommerce Product Add-ons plugin.
Disclosure: Some of the links on the page may contain a ref code (affiliate links), that tells the other side that we have sent you. If you liked what we suggest and you make a purchase, we may receive a commission.