
[alert-warning]We’re adding new stuff weekly[/alert-warning]
Apart from the heavy work on building and launching your website, the daily use of WordPress involves all kinds of small tasks that every one of us is facing each day, or at least very often.
In this long post, we are going to add every single one of these common questions and issues and try to give the most simple working solution. This guide will be for WordPress beginners and users with little experience with the CMS.
Delete Post Revisions
Why is it a good idea to Delete old posts’ revisions?
Whit-time revisions can grow to a significant number and grow on your database.
By deleting old revisions you will reduce your database size and speed up your website.
Another option is to bulk delete all revisions, if that’s what you want you can install the WP-Optimize plugin.
But in this answer, I’ll show you how to easily delete only specific post’s revisions, because you may want to keep some for later.
[box title=”” bg_color=”#f7f7f7″ align=”center”]
[icon icon=”check-square” color=”#a8cc0a”] Here’s How
Simple Revisions Delete adds a small “Purge” action next to the Revisions number in each post or page.

Simply click the link and it’s all done. Voila!
The plugin also has a bulk delete option if you want to get rid of all your post’s revisions.
[/box]
[button-green url=”https://wordpress.org/plugins/simple-revisions-delete/” target=”_blank” position=”center”]Download Here[/button-green]
Change the Default Admin Login URL

There are several reasons you’d want to change the default login URL of your WordPress site.
By default, all WordPress sites come with a login URL: yourdomain.com/wp-admin.
If you keep it that way there is a chance to let hackers guess your credentials, get brute force attacks, and even if they fail to enter this will still cause server resources and even turn down your site for some time.
[box title=”” bg_color=”#f7f7f7″ align=”center”]
[icon icon=”check-square” color=”#a8cc0a”] Here’s How
Install iThemes Security Plugin and go to the Settings menu.

Find the “Hide Backend” block and go to Configure Settings. Just type your desired login address and save. That’s it. And don’t forget what you have typed. [/box]
iThemes Security Plugin is a complete security solution for WordPress that will not only change your admin login URL but will provide overall security for your site.
Add a Sticky (Fixed) Widget to the Sidebar
 Widget to the Sidebar")
A sticky widget means a widget that gets scrolled down with the page.
If your posts are long you will find that your widget area is being empty as the reader scroll past your first few paragraphs.
Sticky widgets can increase your ads’ CTR and boost conversions.
[box title=”” bg_color=”#f7f7f7″ align=”center”]
[icon icon=”check-square” color=”#a8cc0a”] Here’s How
Download the Q2W3 Fixed Widget, install and activate it.
Go to your site’s widgets panel, select any widget and you will see a new check box – “Fixed widget”.
 Widget to the Sidebar")
Simply tick the check mark for the widget you want to stick. Easy as that.
[alert-warning]Make sure your lowest widget is always the fixed one (the last one in your sidebar). Otherwise you will cause the sticky widget to overlap the others below it. [/alert-warning]
[/box]
How to enable Two-Factor Authentication (2FA) in WordPress
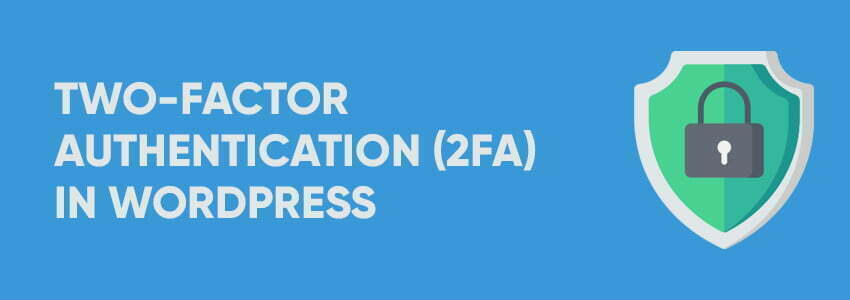
Like it or not Internet is heading to a state where Two-Factor Authentication is becoming a security norm.
If you are using some popular apps and websites, the chance you already faced 2FA is huge.
So why would you secure your Facebook profile and not your own website?
There are many ways both free and premium but will focus on one complex plugin that does more than just that.
Enable Two-Factor Authentication in iThemes Security (FREE)
First, install and activate the plugin.
Once you have it installed, go to the newly appeared “Security” tab in your menu, and click Settings.
Go to Features > Login security

Turn on the Two-Factor Authentication option.
From the settings screen, select your preferred method.
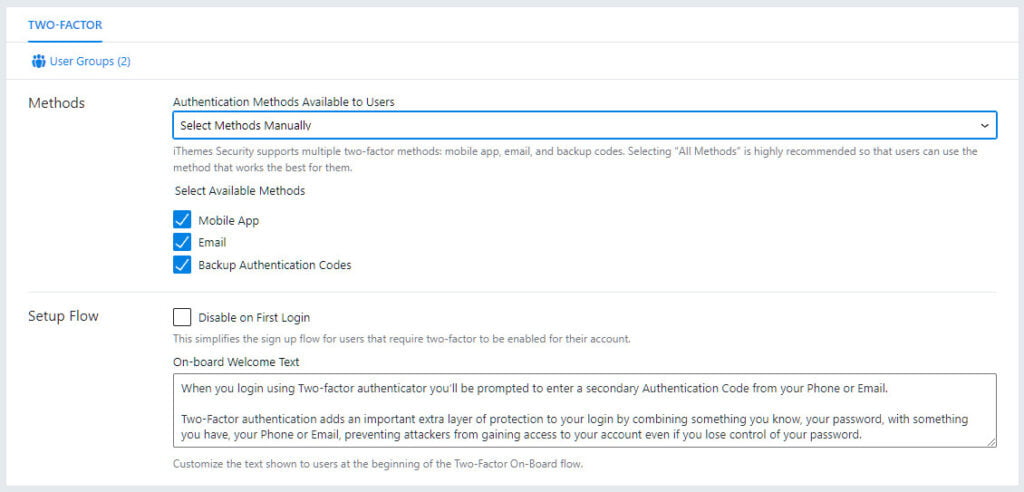
Download the Google Authenticator App, or stick with the e-mail codes every time you log in to your WordPress dashboard. You also want to download your list with one-time codes in case something goes wrong.
Congratulations!

Note!
Place your code in the ‘Text’ tab! If you paste in the visual one, there is a big chance that you won’t get it to display on your front end.
[box title=”The “How to” Guide” border_width=”1″ border_color=”#ededed” border_style=”solid” bg_color=”#f4f4f4″ align=”center”]
 Quick and simple tutorials on common WordPress issues that users face everyday.
New fix every month.
[/box]
Disclosure: Some of the links on the page may contain a ref code (affiliate links), that tells the other side that we have sent you. If you liked what we suggest and you make a purchase, we may receive a commission.